Overview
Centre Managers can personalise the Onefile Eportfolio navigation bar by adding custom links. This feature allows you to give learners and staff quick access to key resources, support pages, or external systems directly from the main navigation menu.
User Roles
This feature can be used by:
- Centre Manager
Steps
How to Add Custom Navigation Links
- Click Centre from the navigation bar.
- Click Details.
- Scroll down to the Custom Navigation section.
- Enter the Name to display in the navigation bar (maximum 50 characters).
- Enter the URL (maximum 200 characters).
Note: The link must start with http:// or https://.
- Ensure the Enabled box is ticked.
- Click Add.

Once added, custom links may take up to 10 minutes to appear in the navigation bar for all users.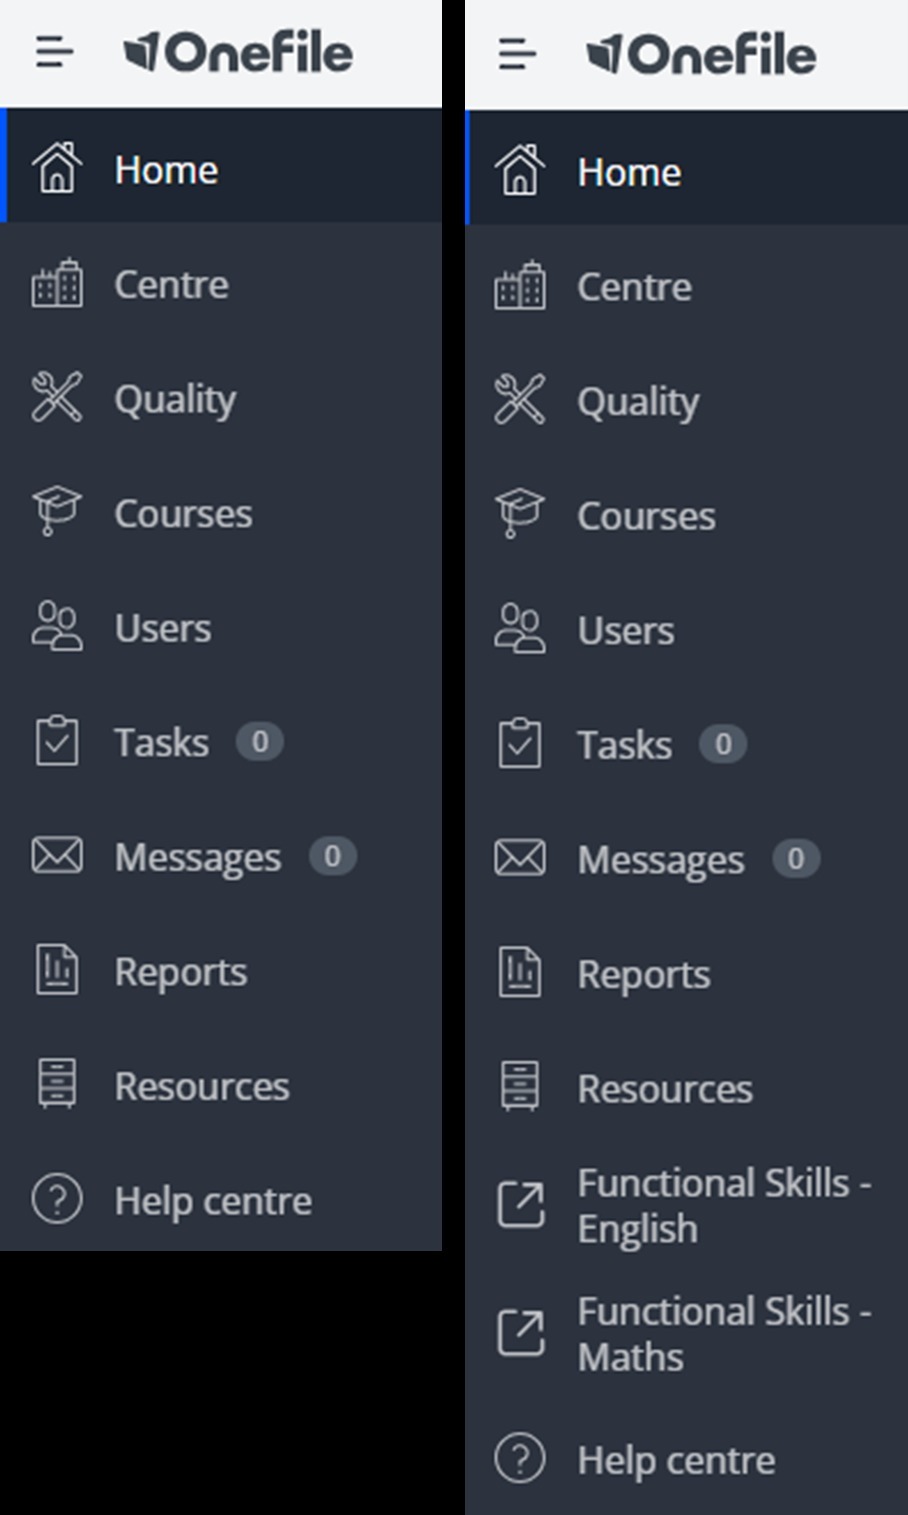
Tips & Notes
- Default navigation icons will continue to display alongside your custom links.
- If new links do not appear, try clearing your browser cache. Guidance can be found here: How to Clear Cache on All Major Web Browsers
- Links can be edited or removed at any time via the Custom Navigation section.
Terminology
Terminology used in this article may differ depending on your Centre.
Need Help?
If you encounter any issues or have questions, please contact Onefile Support or your internal support channels.